
Photoshop 101: The Twirl
Good Day Everyone and welcome back to another Saturday Blog post. This one is a little one a different one that hints to a journey I am doing that I mentioned in my Newsletter. I will not say for now in my blogs what this journey is. Right now I do not want to jinx it and it is only in the beginnings, but I will be adding updates about this project in my newsletter. Please register for my FREE newsletter so you can be the first to know what this journey I am taking is. So this post is a little bit more on an instructional side of things that hint to what the theme is of the project and journey that I am taking.
On my Instagram, Facebook, and TikTok I have already shared some of the photos that I will be sharing with you today, but I have not shared how I created them. It has been mentioned by a family that I should share some of the knowledge on the latest photoshoot project I have done. Specifically the part of using Photoshop. My family member said I am really good at Photoshop but personally, I do not consider myself an expert in any way. Am I good at doing Photo Restorations up to a certain level? Absolutely I am but that came with time and years of practice day to day in my day job. Have I been professionally educated in how to use Photoshop fully? No, not in a full professional education. I have been taught back when I was in High School on how to work Photoshop Elements. From there I kept an interest in Graphic Arts but never pursued it professionally. Do I want to do it as a job? No, not at this time as I currently love doing it on my own free time and learning as I go.
So How Did I Learn Photoshop?
As I mentioned earlier, I have been taught on how to use Photoshop, just the beginning stages, back in High School. I knew the basics in masking, layering, and filtering. From there, I have self taught myself using YouTube tutorials and the Adobe Photoshop Magazines. My first real creative project where I manipulated a photo is a couple of years ago and it was using filters only. The project pulled out colours I never knew existed inside of the photo. This photo I have displayed at my photo club at the time and it was critiqued and have even won a placing in our monthly competition. To this day I am still proud of this photo. So how did I create it?

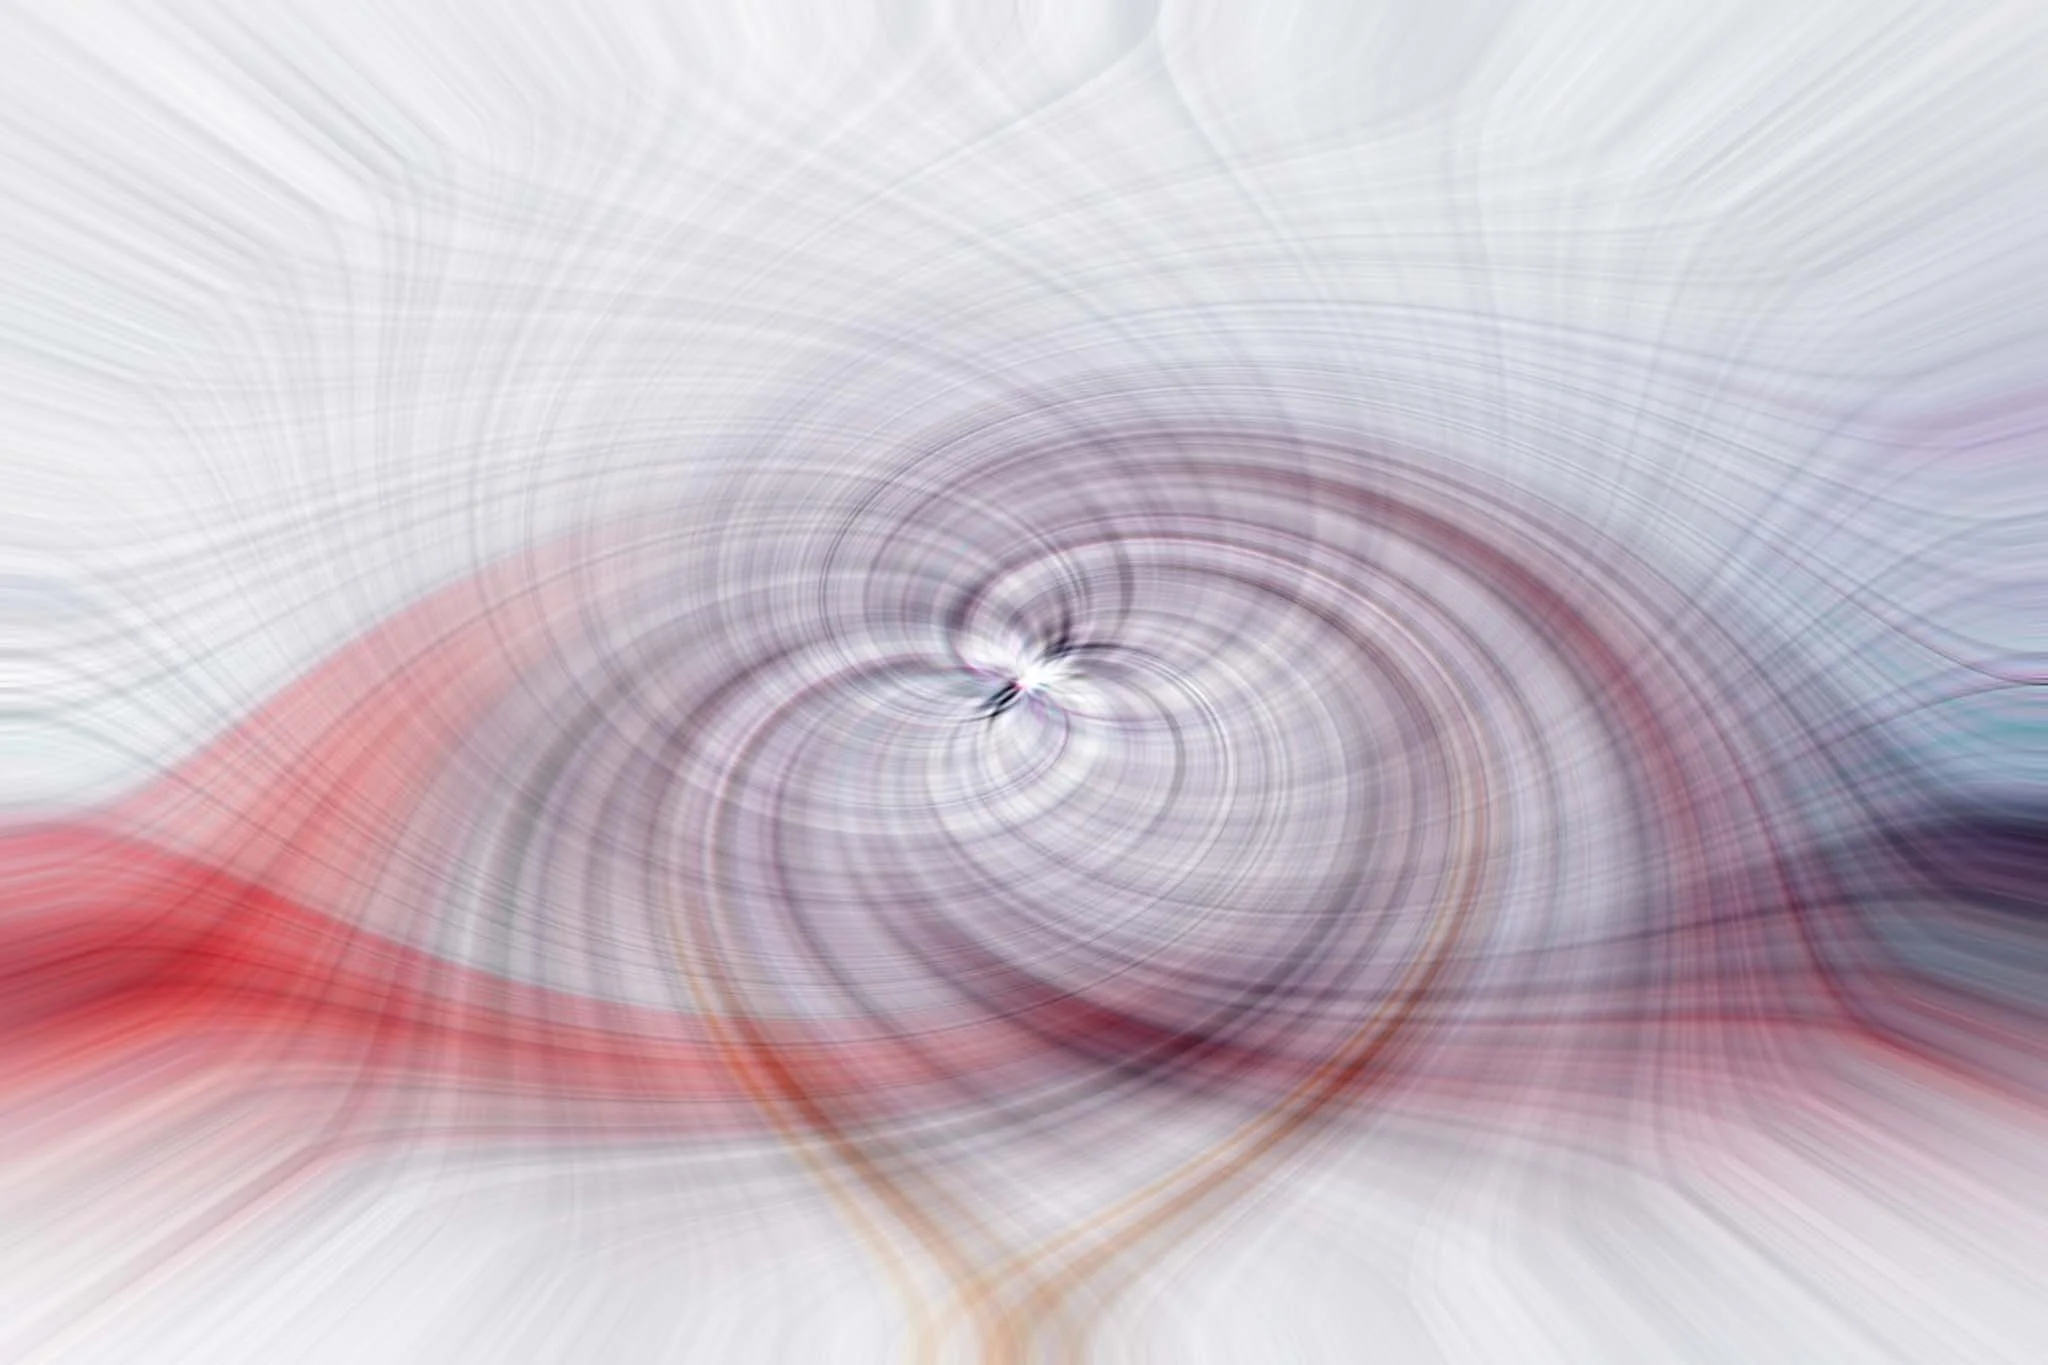
Title: Twirl Around
How To Create The Twirl.
Step 1: Select And Open Your Photo
~ Start by opening a photo in Photoshop. It doesn’t matter which image you use - the twirl effect can be applied to any subject or composition. If you are struggling between a few different shots, why not do it to all of them?
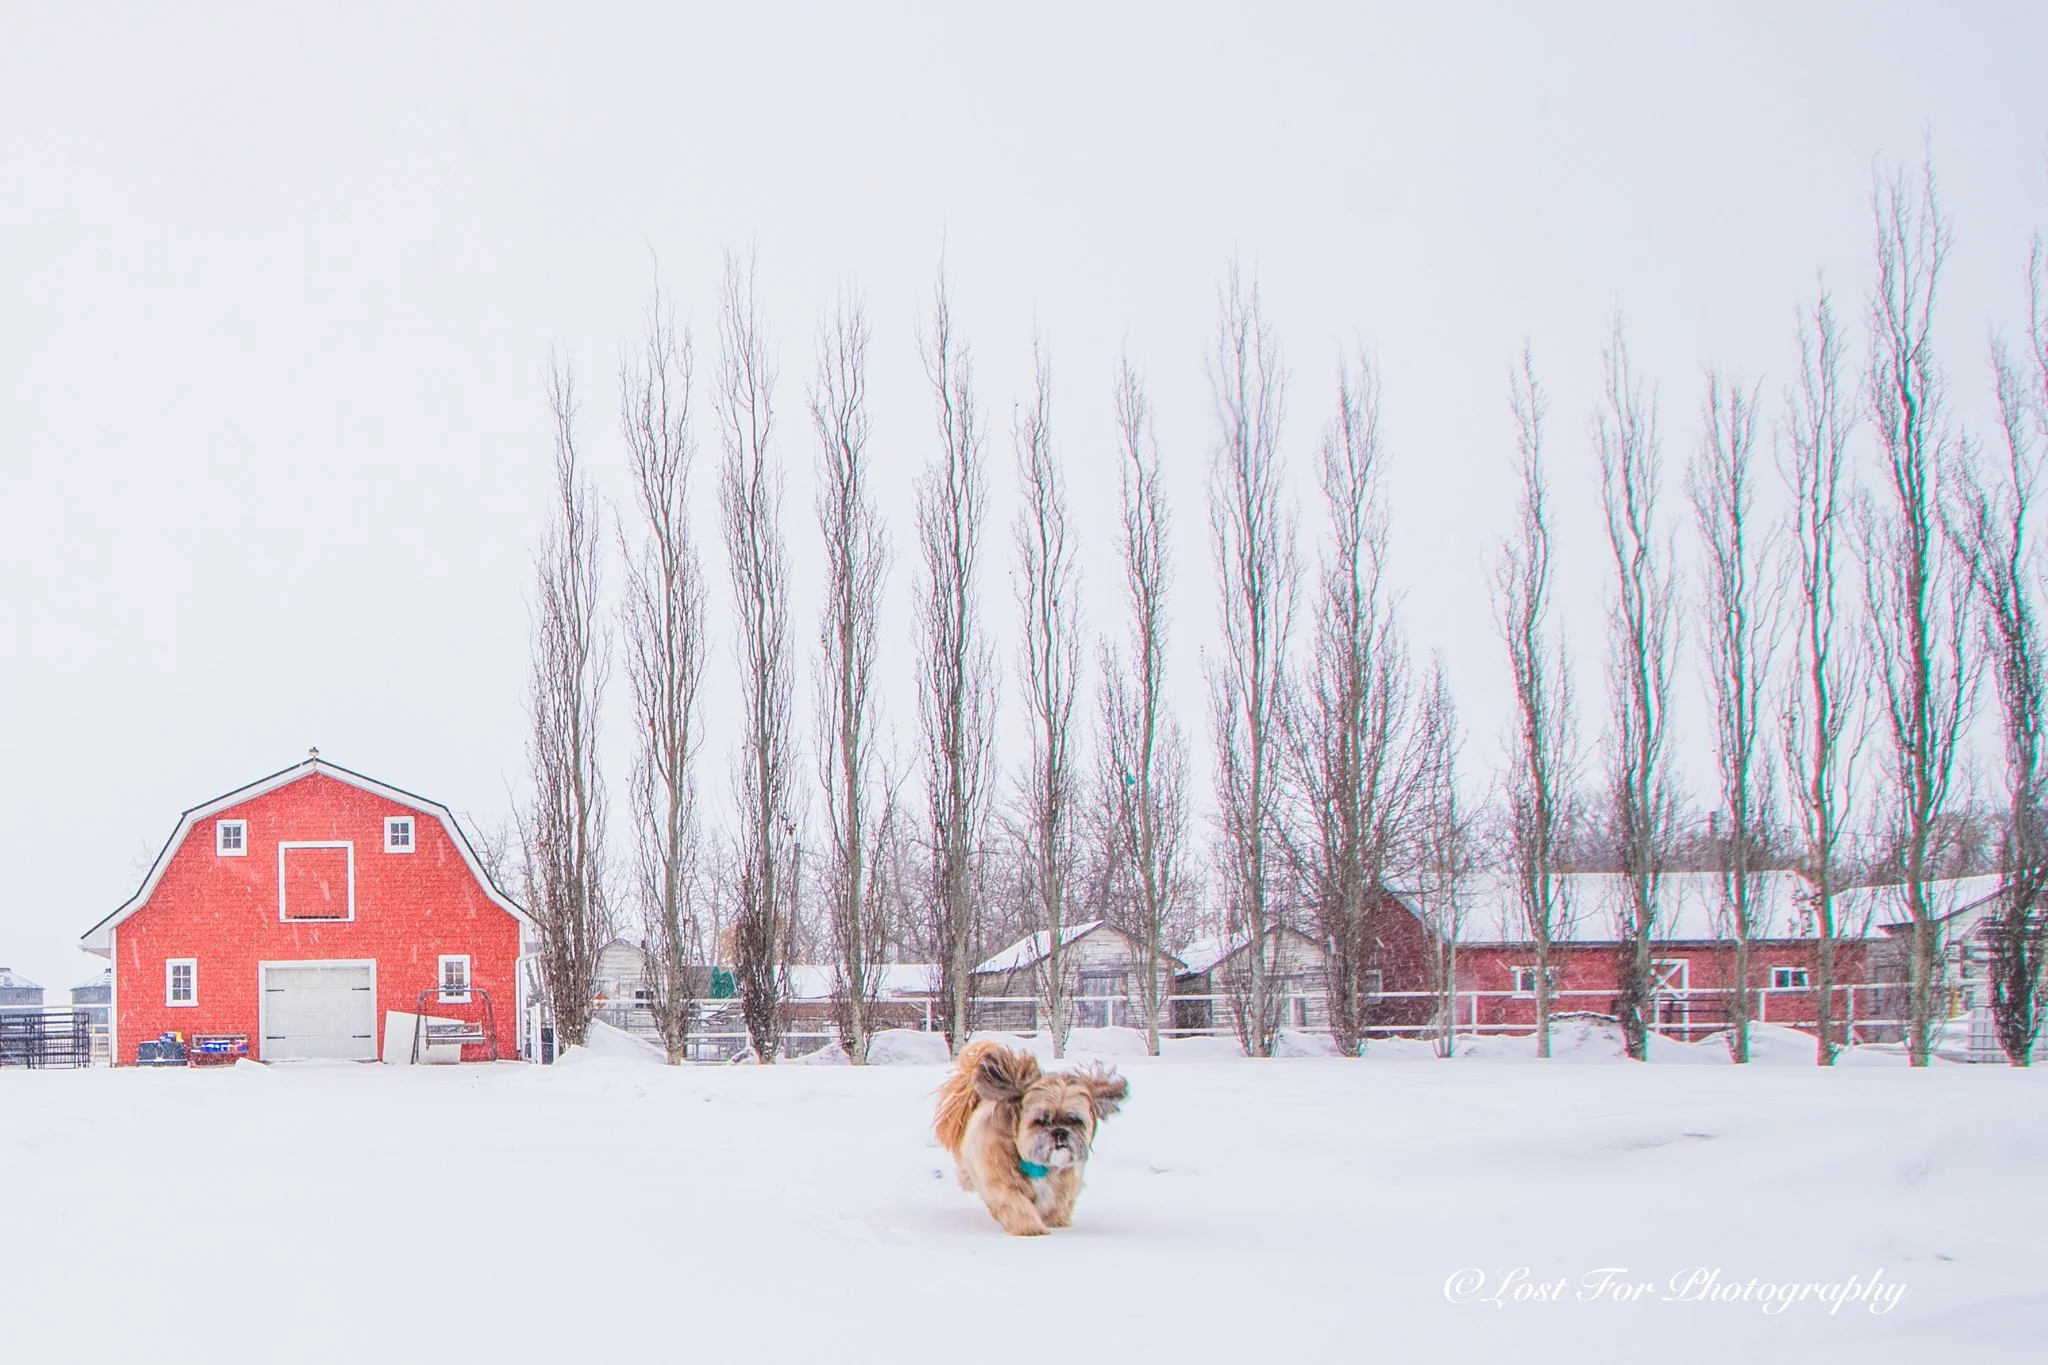
Title: Charging Through.
Step 2: Prepare A Second Layer
~ Next you want to duplicate your original image which is labelled Background layer. To do this you can do it a few different ways. You can drag it to the plus sign at the bottom of the layers panel or simply choose Layer>Duplicate Layer in the menu.
~ Convert the second layer into a smart object. You can right click the layer and choose Convert to Smart Object, or you can choose Filter>Convert for Smart Filters.
That way you can go back to each filter layer on and make adjustments again without having to start over.
Step 3: Add A Mezzontint Filter
~ To creat the twirl effect in Photoshop, you need to apply a series of filters to your image. The first one is a Mezzotint.
~ In the main menu, choose Filter?Pixelate>Mezzotint. This will open a dialog box. Beneath the preview window, you can open the Type menus and pick your preferred type.
~ At this point, choosing between the different types won’t make much sense unless you’ve done the twirl effect before. So don’t worry too much about it. You can also come back and change it once you’ve applied the next filters because you converted the layer into a Smart Object.
I have used the medium strokes for my type but don’t feel like you have to do the same.
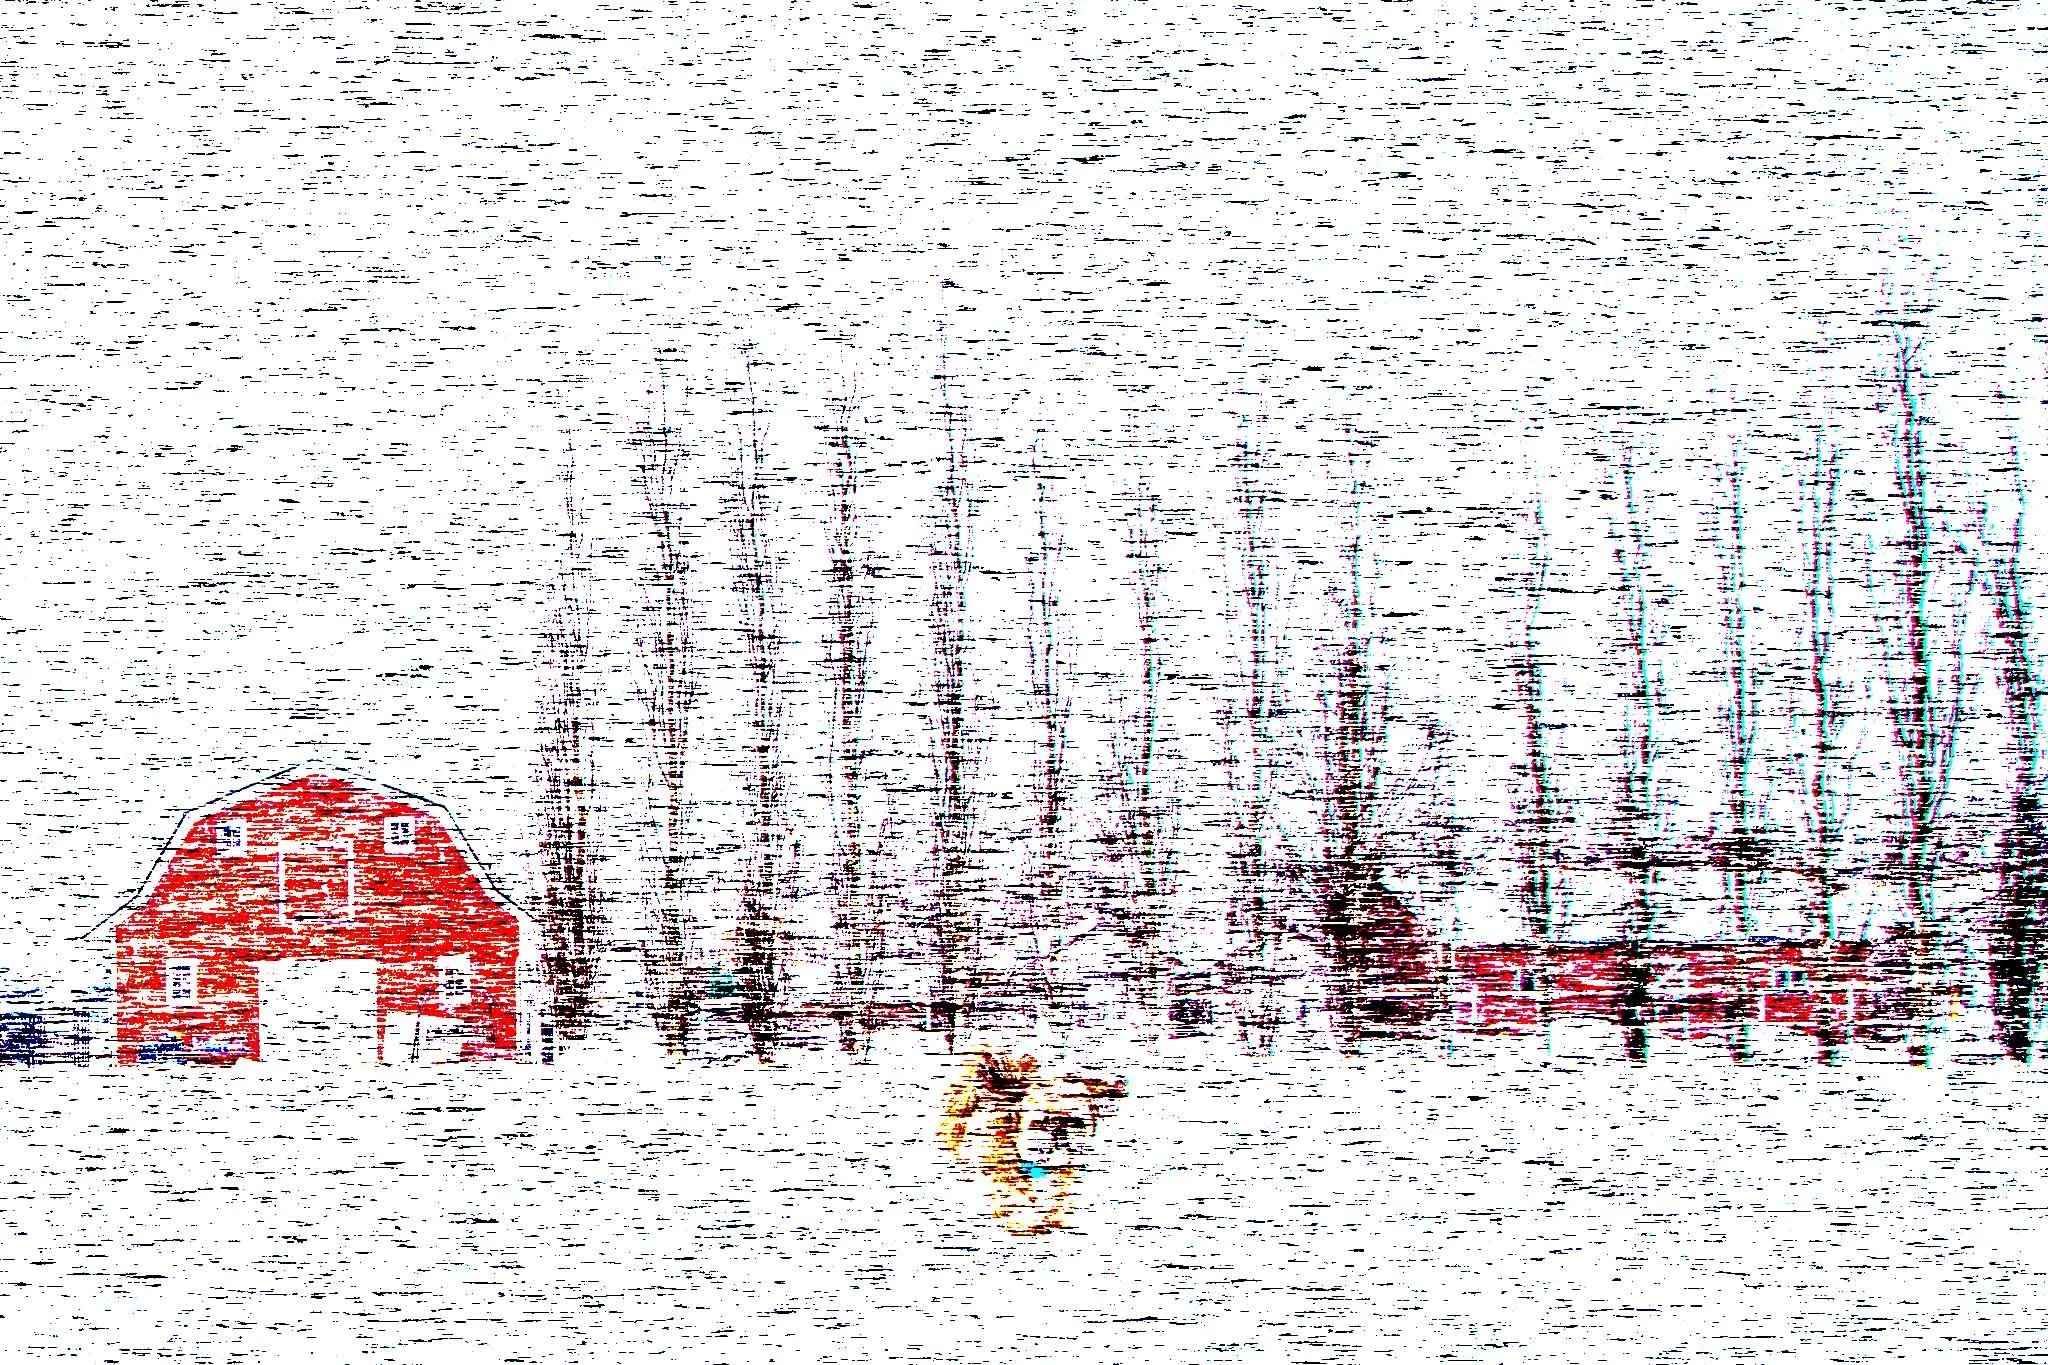
Sample what your image should look similar to with Mezzotint.
Step 4: Apply the Radial Blur Filter
~ The next filter you need to apply is a Radial Blur, so head into the menu and select Filter>Blur>Radial Blur. In the dialog box, set the blur method to Zoom. As for the Quality: You can choose Draft to speed things up, or you can choose Good or Best if the files isn’t to big. At this point, you’ll still have to apply more filters, so it’s not a problem to keep the value as Draft.
I’d suggest setting the amount to 100 for your first time trying. You can always come back later and experiment with different numbers to see how they influence the final effect.
~ Then add the Radial Blur filter again. When you open the Filters Menu, you’ll find the last filter you used at the top, so go ahead and select it:
The Radial Blur dialog box will open once more, and is should feature the same settings you used before. Simply click OK.
~ Finally apply the filter a third time, but make sure you change the quality this time to Best.

Step 5: Add The Twirl Filter
At this point your photo should start looking pretty abstract which means it is now time to twirl it.
~ In the main menu, select Filter>Distort>Twirl. In the dialog box, boost the Angle slider to add the twirl effect. There isn’t a magic Angle value that works for every image. Simply move the slider until you like what you see in the preview window and hit OK.
Go ahead and duplicate your twirled layer using the same process discussed in Step 4.
Step 6: Modify The Duplicated Layer
~ Identify your duplicate layer in the Layers Panel. Note that the duplicate layer will contain all the Smart Filters you’ve applied so far. So double-click on the Twirl filter to open its dialog box.
~ Drag the Angle slider to the left until you reach the negative of the number you previously used. So if you used 100 for the first time, you want to slide this second one to -100.
Now the twirl should go in the opposite direction that of the first layer. Click OK to apply it.
Step 7 (Final Step): Adjust the layer to Blend Mode
At this point, you should have two layers, each featuring opposite twirls. However the top layer will be completely blocking the layer underneath, and we need both layers to interact with each other.
~ Simply open the Blend Mode menu on the Layers Panel, then pick a mode! Feel free to experiment with different modes to create different effects (and if you’re using Photoshop CC, you can preview the result as you hover over different blend options.)
And that is it! Now you created your first twirl photo.
Title: Winter Spiral
Now you know how to do the twirl and the more your play with it, the more it will change. Keep playing with it until you get your desired look. The above image is the featured image for this weeks Photoshop Blog post. I will do a series of this. I will hint, with only a photo, what the next one will be about. You take a guess. Sign up for my newsletter on when the next Photoshop Blog post will be coming so you don’t miss out on the fun. Happy Twirling!
Tschüss!
Don’t miss the next tutorial. Sign-up for my Free Newsletter and be informed about all my projects, new blogs, and new photography.
Title: This Is My Town